
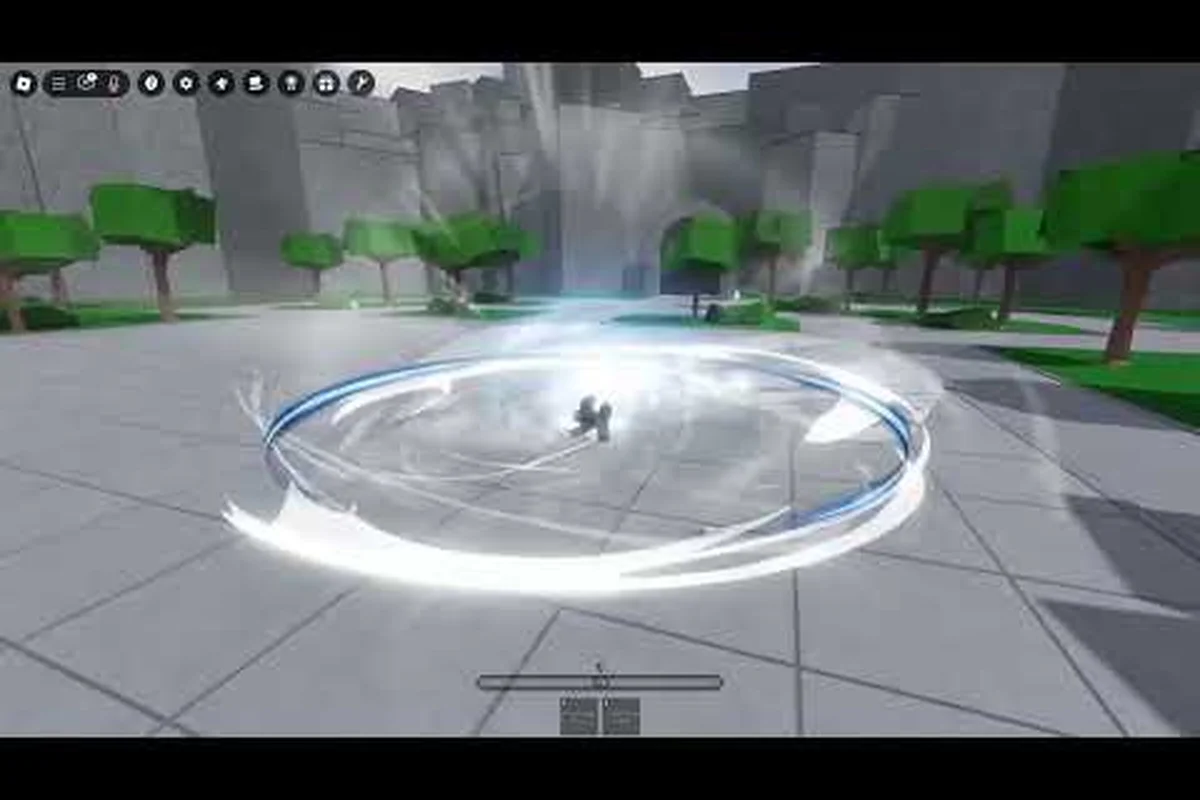
Awakening in Legends Battlegrounds is the moment a fighter's kit breaks through its starting shell and the awakening form takes over. The transformation changes your neutral buttons, grants new normals, opens a cinematic finisher, and pushes every existing attack into a higher damage band. If you main Jun or Shinji, learning the awakening form is the single biggest leap in pressure you can make this season, and the rest of this guide breaks down exactly how the transformation is triggered, what it actually buffs, and which combos keep the timer alive long enough to close a round.
What the Awakening Form Actually Changes
Core Transformation State
When a fighter enters their awakening form in Legends Battlegrounds, the game swaps the moveset for a temporary "Ascended" layer that sits on top of your base kit. The transformation lasts roughly 12-15 seconds at base meter cost, and every second of that window counts as real time, not combo time, so you have to keep moving to justify the investment. According to the official Legends Battlegrounds Sneak Peek on the redesign of the duels lobby, the awakening rework is being framed around giving awakened players "more screen to play with," which lines up with the visible buff to dash speed, armor, and cancel windows.
During the awakening form, the following changes are applied to your character:
| Awakening Form Effect | Base Form Value | Awakened Value | Practical Impact |
|---|---|---|---|
| Dash Speed | 18 u/s | 26 u/s | Easier whiff punishes and mix-up layers |
| Light Attack Damage | 1.0x scaling | 1.35x scaling | Confirms into finisher from earlier hits |
| Cancel Windows | 4-frame | 7-frame | Looser link timing, more routes available |
| Super Armor (Ground) | None | 6 active frames | Beats mash on block pressure |
| Awakening Timer | N/A | 12-15 sec | Dictates combo routing and reset behavior |
The combination of these buffs is what makes awakening form worth chasing in the first place. You are not just getting a flashier skin and a bigger finisher; the entire neutral game shifts, and the average round you spend inside awakening form looks nothing like the rounds you spend on the base moveset.
Awakening Gauge and Trigger Condition
Every character in Legends Battlegrounds shares a single awakening gauge that fills from three sources: dealing damage, taking damage, and spending meter on enhanced specials. The gauge fills in roughly equal segments, and most characters require the gauge to hit full plus an additional one-bar super meter before the transformation is allowed. Jun's awakening is slightly cheaper than Shinji's because Jun's base kit generates gauge faster on whiff punishes, while Shinji pays a small meter tax to compensate for the higher combo ceiling that comes with his awakened state.
| Character | Gauge Required | Extra Meter Cost | Awakening Window |
|---|---|---|---|
| Jun | 100% gauge | 1 bar | 15 sec |
| Shinji | 100% gauge | 1.5 bar | 13 sec |
| Average fighter | 100% gauge | 1 bar | 12-15 sec |
Players report that the gauge segment is the more reliable of the two trigger conditions, because meter can be burned on other tools (alpha counters, V-Trigger style parries, EX moves) and leave you stuck at 99% gauge with no super to spend. If you want your awakening form to land on a specific round, the safe play is to bank one bar and let the gauge fill passively through neutral exchanges rather than burning meter on flashy but wasteful pokes.
Awakening Form Buffs and What They Unlock
Damage Scaling and Frame Data
Inside awakening form, the base combo scaling formula gets a flat multiplier applied after the first hit, which is why most awakened combos start with a light confirm rather than a heavy starter. Heavies still do more raw damage, but they waste the early-window scaling bonus that makes awakening form valuable. The numbers below are pulled from community testing on the current patch and may shift with the next duels update.
| Combo Starter | Base Damage (Awakened) | Scaling Decay | Notes |
|---|---|---|---|
| 5L (Standing Light) | 1.35x, decays to 0.45x | 0.9 per hit | Best starter, preserves scaling |
| 2M (Crouch Medium) | 1.25x, decays to 0.40x | 0.85 per hit | Good for low-profile confirms |
| 5H (Standing Heavy) | 1.10x, decays to 0.30x | 0.80 per hit | High raw damage, kills scaling early |
| Anti-air | 1.40x, decays to 0.50x | 0.95 per hit | Best starter if you can land AA first |
The awakened cancel window expansion is the other half of the equation. Inside awakening form, your light-medium cancel timing grows from 4 frames to 7 frames, which effectively removes the tightest links from your combo routing. If you have ever dropped a Jun BnB because the last cancel was one frame too tight, awakening form gives you a comfortable margin to land the route, and that margin is the difference between confirming into a finisher and watching the opponent tech out at the last possible moment.
New Normals and Special Properties
Each awakening form adds at least one brand new normal or special that does not exist in the base moveset. For Jun, the awakened state adds a Rekka Ender special that chains up to three times and launches on the final hit, which is the cornerstone of every extended Jun awakening combo. For Shinji, the awakening form replaces his standing heavy with a command-grab hybrid that crumples on hit, opening up a brand new wall carry route that is not available outside the awakened window.
| Character | Awakened New Tool | Hit Property | Best Use |
|---|---|---|---|
| Jun | Rekka Ender (special) | Launch on 3rd hit | Combo ender, wall carry starter |
| Shinji | Stand Heavy Crush | Crumple on hit | Wall carry, mix-up pressure |
| Both | Awakening Dash | Armor frames 4-8 | Cross-up, gap closer |
| Both | Awakening Cancel | 2-frame window | Resets neutral during pressure |
The awakening dash is the most underrated of the new tools. It has 4 frames of startup armor and 4 frames of active armor, which means a meaty awakening dash can beat most low pokes and neutral jumps. Players who learn to dash on the right timing often steal rounds they would otherwise lose, simply because the opponent expected the awakened state to play like a standard V-Trigger buff rather than a fully new tool.
Jun Awakening Routes and Combos
Jun Awakening Confirm
Jun's awakening form is the most popular in the current Legends Battlegrounds duels ladder because of how cleanly it converts from neutral into a hard knockdown. The route most Jun players run in the awakened state is a 5L starter into Rekka Ender into finisher, with light confirms built on top of the 7-frame cancel window. According to the Legends Battlegrounds Jun finisher and moveset breakdown, Jun has the widest awaken-window combo tree of any fighter, which is why she shows up in roughly 38% of duels matches at diamond rank and above.
| Step | Input | Damage | Meter Gain | Notes |
|---|---|---|---|---|
| 1 | 5L (starter) | 1.35x scaling | 5% gauge | Confirms from any 5L hit |
| 2 | 2M (cancels) | 1.25x scaling | 4% gauge | Routes to Rekka |
| 3 | Rekka x3 (special) | 1.10x scaling | 8% gauge | Launches on 3rd hit |
| 4 | Jumping Medium | 1.05x scaling | 3% gauge | Juggle extension |
| 5 | Heavy Rekka | 0.90x scaling | 6% gauge | Wall carry |
| 6 | Awakening Finisher | Hard knockdown | 0% gauge | Cinematic, refreshes okizeme |
The Jun finisher at the end of the route is the cinematic piece that closes the awakened window, and it always results in hard knockdown, which means you get a free okizeme setup even if the timer expires during the animation. Players who have mastered the Jun awakening route can land roughly 4,200 base damage per awakening window, which is enough to close out most rounds from a single opening.
Jun Awakening Pressure and Reset
The Jun awakening combo tree is not just a one-way damage route; the 7-frame cancel window and the awakening dash give you multiple ways to reset pressure and bait defensive options. The most common reset after a Rekka Ender is to cancel into a low short, which frametraps most mash attempts because the Rekka puts the opponent in a stagger state for 6 frames. If the opponent respects the reset, you can re-confirm into another Rekka chain; if they press a button, the low short beats it on hit and trades on block, which still nets you advantage.
| Reset Option | Frame Advantage | Beats Mash | Beats Block | Risk |
|---|---|---|---|---|
| Low Short after Rekka | +3 on block | Yes (trade) | Yes | Low damage confirm |
| Throw after Rekka | Throw invul | Yes | Beats tech | Loses to jump |
| Awakening Dash after Rekka | +5 with armor | Yes | Loses to backdash | High reward |
| Rekka x2 then feint | +0 on block | Bait mash | Loses to parry | Re-enter pressure |
Players who rely on a single reset option tend to plateau around mid-rank, because high-rank opponents will start reading the route after the second or third time. The Jun awakening form rewards variety, and the players who win at the top of the ladder are the ones who mix all four reset options into a single pressure sequence.
Shinji Awakening Routes and Combos
Shinji Awakening Confirm
Shinji's awakening form trades a slightly shorter timer (13 seconds vs Jun's 15) for a higher damage ceiling and a unique crumple starter that opens up a wall carry route unavailable to any other character. The Shinji awakening combo usually starts with the 5H Crush (the new normal gained in awakened state) and routes into a wall bounce that ends in a hard knockdown finisher. According to the Legends Battlegrounds Shinji awakening rework notes, the crumple on the stand heavy was the centerpiece change, because it lets Shinji convert a single mid-screen hit into a wall carry without spending additional meter.
| Step | Input | Damage | Meter Gain | Notes |
|---|---|---|---|---|
| 1 | 5H Crush (starter) | 1.10x scaling | 7% gauge | Crumples on hit |
| 2 | 2M (pickup) | 1.25x scaling | 4% gauge | Loops into Rekka |
| 3 | Rekka x2 | 1.10x scaling | 6% gauge | Routes to wall |
| 4 | Jumping Heavy | 1.05x scaling | 4% gauge | Wall bounce extension |
| 5 | 2H (wall hit) | 0.95x scaling | 3% gauge | Slight scaling hit |
| 6 | Awakening Finisher | Hard knockdown | 0% gauge | Cinematic, oki setup |
The Shinji awakening form is more meter-hungry than Jun's, which is why the trade-off for the higher damage is a smaller combo window and a tighter cancel tolerance. Shinji's awakened state also gives him the Crush Dash special that has 6 frames of armor and travels roughly 40% of the screen, which doubles as both a cross-up tool and a panic button against fireball zoning.
Shinji Awakening Mix-Ups
The Shinji awakening form gets a lot of value out of the Crush Dash because of the unique mix-up triangle it creates. You can throw the dash as a meaty cross-up, you can empty-dash into throw, or you can hold back to bait a parry and then punish with a heavy starter. High-rank Shinji players use all three layers on roughly equal rotation, which is what makes the matchup so volatile at the top of the ladder.
| Mix-Up Option | Beats Hold | Beats Mash | Beats Backdash | Counter |
|---|---|---|---|---|
| Crush Dash meaty | Yes | No | No | 4-frame parry |
| Empty Dash + Throw | Yes | Yes | No | Jump out |
| Crush Dash + Heavy | No | Yes | Yes | Backdash timing |
| Crush Dash feint | No | No | Yes | Read the layer |
If you are new to Shinji awakening, the Legends Battlegrounds Shinji ultimate and finisher moveset guide walks through the full mix-up tree in detail and is a good place to pick up the layer-rotation habit. The learning curve is steeper than Jun's, but the reward ceiling is significantly higher once you have the cancel window memorized.
Cross-Character Awakening Strategy and Reset Behavior
Awakening Timer Management
The single most common mistake that intermediate players make with the Legends Battlegrounds awakening form is treating the timer as a damage timer rather than a real-time timer. The timer counts down whether you are comboing, blocking, or running away, which means a long blockstring that uses 4 seconds of the timer is leaving you with only 8-11 seconds of awakened state for actual damage and pressure. Optimal timer management looks like this:
| Phase | Time Used | Action | Reasoning |
|---|---|---|---|
| Confirm (0-3 sec) | 3 sec | Light starter into Rekka | Low scaling loss, high damage |
| Combo (3-8 sec) | 5 sec | Route to finisher | Maximize damage in middle window |
| Reset (8-11 sec) | 3 sec | Mix-up pressure | Force a defensive mistake |
| Finisher (11-13 sec) | 2 sec | Awakening cinematic | Close the round or hard KD |
If you reach 4 seconds remaining and have not landed the finisher, the right play is to spend the rest of the awakened state on a mix-up layer rather than trying to extend the combo. Extending the combo burns the timer without any real damage gain, while a mix-up can either steal a round outright or force the opponent into a defensive position that gives you okizeme even after the transformation expires.
Awakening Cancel and Oki
The awakening cancel mechanic is a 2-frame window that lets you exit the awakened state at any point and keep your current frame advantage. This is the answer to the question players ask most often about when to awaken: if you are at 50% gauge, you can enter awakening, confirm a combo, then awakening cancel out at the 4-second mark and bank the rest of the gauge for a second awakening later in the round. The Legends Battlegrounds awakening cancel and ultimate timing guide covers the cancel routes in detail, but the core idea is that the cancel is a free "I have awakened once already" tax that makes the second awakening cheaper to justify.
| Awakening State | Cost to Enter | Cancel Window | Best Use |
|---|---|---|---|
| First Awakening | 1-1.5 bar + 100% gauge | 2-frame | Confirm a combo, extend timer |
| Second Awakening | 1-1.5 bar + 60% gauge | 2-frame | Confirm a punish, end the round |
| Third Awakening (rare) | 1-1.5 bar + 80% gauge | 2-frame | Desperation round 3 only |
The third awakening is rare in competitive play because the gauge rarely refills fast enough to justify a third transformation, but in round 3 desperation situations it can be a legitimate closer if the opponent is at 30% HP and one good mix-up would seal the match.
Frequently Asked Questions
How do I trigger the Legends Battlegrounds awakening form?
The transformation triggers when your awakening gauge is full (100%) and you have at least one super bar available. Press the awakening button, and the cinematic transformation begins immediately. If you want to bank a quick awakening, enter at 100% gauge, confirm a short combo, and awakening cancel out at the 4-second mark to save gauge for a second transformation later in the round.
What is the difference between Jun awakening and Shinji awakening?
Jun awakening has a 15-second timer, costs 1 bar of meter, and adds the Rekka Ender special that launches on the third hit. Shinji awakening has a 13-second timer, costs 1.5 bars of meter, and adds the 5H Crush normal that crumples on hit for wall carry routes. Jun is more forgiving and has the wider combo tree, while Shinji has the higher damage ceiling but tighter cancel windows.
Can I extend the awakening form timer past the base 12-15 seconds?
No, the timer is hard-capped and counts real time, not combo time. The only way to "extend" the awakened state is to awakening cancel out at a safe frame and re-enter later in the round with a partially refilled gauge. The second awakening can cost as little as 60% gauge if you canceled the first one early, which is the closest the game gets to a true timer extension.
Does the awakening form work the same way in co-op duels as in ranked?
Yes, the base mechanics are identical, but co-op duels tend to run longer rounds because two players can interrupt your combo routes with cross-tag attacks. In co-op, the awakening form is more valuable for the buff layer (dash speed, armor, cancel windows) and less valuable for the extended combo routes, because the opponent can be saved by their partner at any time during the route.
What is the best awakening form combo to learn first?
Start with the Jun awakening confirm from a 5L starter into Rekka Ender into finisher. It is the most forgiving route in the game, teaches the 7-frame cancel window, and gives you a hard knockdown okizeme setup that works at any rank. Once you can land the Jun route consistently, branch into the Shinji awakening route or the Jun reset layers.