
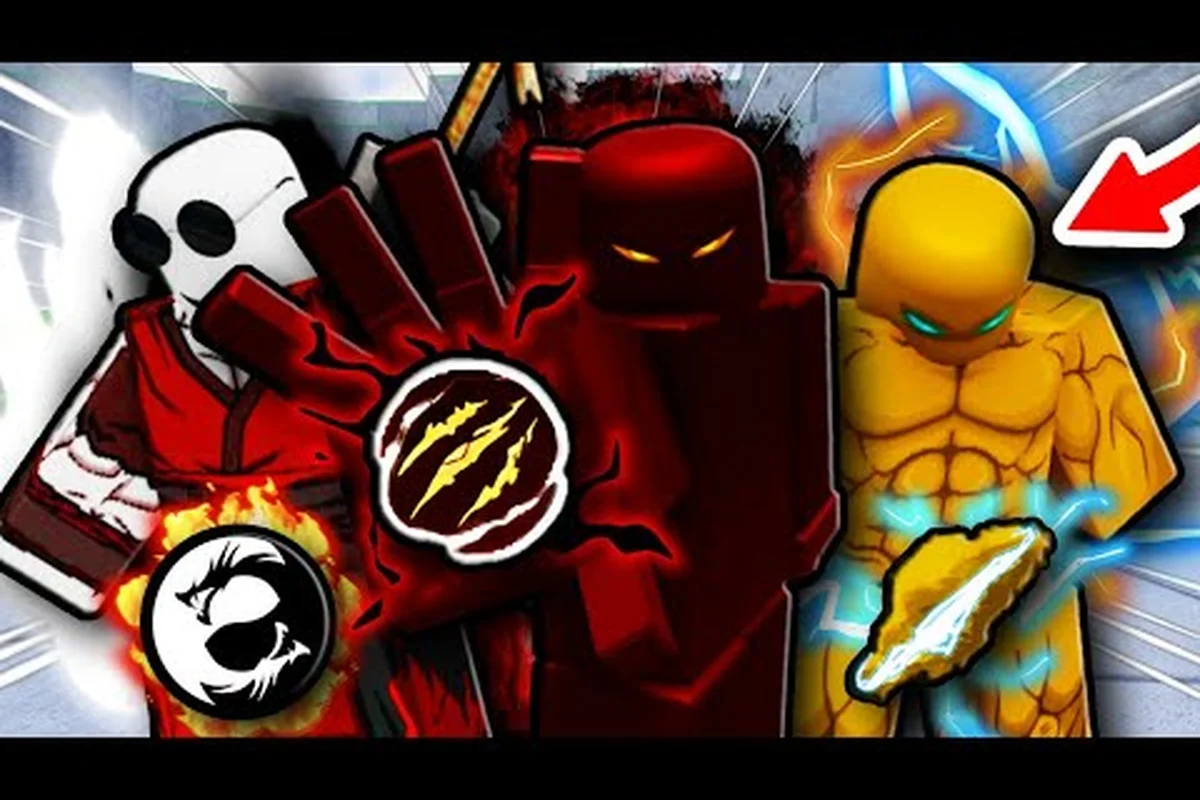
Winning a duel in Legends Battlegrounds comes down to four inputs: Dash, Block, Awaken, and your light-attack chain. This combat guide breaks down the spacing and timing behind each one so you stop trading hits and start controlling fights.
Reading the Core Combat Loop
Every exchange in this stickman PvP brawler runs through the same cycle: approach, pressure, defend, punish. The official game page lists the keybinds as Q for Dash, F for Block, G for Awaken, and Left Click for Light Attack, with a separate Evasive/Ragdoll Cancel input available while you are ragdolled. Understanding how those four buttons interact is the entire foundation of a fighting guide that actually holds up under pressure.
The loop works like this: you close distance with a light attack or a Dash, your opponent either Blocks or Dashes out, and whoever reads the response first gets the free hit. Players who lose consistently usually are not losing to better characters — they are losing the read.
-
Approach — step in with a light attack or a short Dash, never a full-length one.
-
Pressure — chain two or three light attacks, then stop before the recovery window.
-
Defend — Block on reaction, or Dash backward if the opponent commits to a heavy.
-
Punish — hit the recovery frames after their Block drops or their Dash ends.
The single biggest mistake new players make is treating Dash as a movement tool. It is not. Dash is a defensive and repositioning tool with a cost, and burning it to close distance leaves you with nothing when your opponent swings. Community reports consistently show that players who hold Dash for reactive use win far more neutral exchanges than players who spam it on approach.
Character choice matters here too, and it is worth checking which movesets fit your playstyle before grinding mechanics. The full character list breaks down each stickman's move count and awaken kit so you can pick a fighter whose range matches how you naturally play.
Dash Spacing and Recovery Windows
Dash is the most misused input in the game, and fixing your Dash habits is the fastest route to getting stronger. A Dash covers ground quickly, but it also locks you into a fixed animation with recovery frames at the end. If your opponent is watching, that recovery is a free punish.
The correct use of Dash is spacing, not aggression. You Dash to create distance after a blocked string, to escape a corner, or to reposition so your next attack lands at max range. You do not Dash into an opponent who is standing still with Block available.
| Situation | Correct Input | Why It Works |
|---|---|---|
| Opponent blocks your string | Dash backward | Resets spacing, avoids the counter-swing |
| You are cornered | Dash through or around | Breaks the wall trap before it compounds |
| Opponent whiffs a heavy | Light attack, not Dash | Dash wastes the punish window |
| You are ragdolled | Evasive / Ragdoll Cancel | Recovers faster than waiting out the animation |
| Opponent Dashes at you | Block, then punish recovery | Their Dash end-lag is your free hit |
Recovering Early From Knockdowns
Getting knocked into a ragdoll state feels like a death sentence, but it is not. The Evasive/Ragdoll Cancel input lets you recover early, and hitting it at the right moment flips a losing exchange. The window is tight — press it as your character's body starts to settle rather than at the peak of the tumble.
Players who master this single input report surviving combos that would otherwise end the round. Practice it in a low-stakes duel before you rely on it in a ranked match, because the timing differs slightly depending on which attack launched you.
Why Dash Distance Beats Dash Speed
A short Dash that lands you exactly at light-attack range is worth more than a long Dash that overshoots. Overshooting puts you behind your opponent, which sounds good until you realize your attack now has to travel back the other way while they are already swinging. Controlled, short Dashes keep you in the pocket where your light attacks actually connect.
Block Timing and Punish Reads
Block is your safety net, but holding it permanently is a losing strategy. Block has a cost and a duration, and a smart opponent will simply wait you out or use a move that beats it. The skill is knowing when to Block and when to eat a hit to keep your options open.
Think of Block as a reaction, not a stance. You Block when you see the attack coming, not because you are scared. If you are holding Block while your opponent is doing nothing, you are giving them free information about your habits.
| Read | Opponent's Likely Response | Your Counter |
|---|---|---|
| You Block early | They wait, then heavy attack | Release Block, Dash out |
| You Block late | They land a free hit | Block earlier next exchange |
| You never Block | They spam light attacks | Block once, then punish |
| You Block every string | They grab or use an unblockable | Mix in Dashes and counters |
Punishing After a Blocked String
The moment your opponent's attack bounces off your Block, they enter recovery. That recovery is your punish window. The correct punish is almost always a light attack, not a heavy, because light attacks come out faster and let you chain into a second hit if they fail to Block.
The mistake is getting greedy. One clean punish is worth more than a three-hit string that gets Blocked and leaves you open. Take the guaranteed damage and reset to neutral. In practice, this means confirming a single light attack into a short two-hit chain only when you have already read that your opponent is mashing their own buttons — if they respect the punish and hold Block, your second and third hits eat a full counter-string instead. A blocked heavy leaves you in roughly double the recovery frames of a blocked light, which is why the punish window after an opponent's blocked string should almost always be spent on one fast confirm rather than a greedy finisher. Bank the chip damage, walk back to neutral, and let the opponent make the next mistake.
Building the Block-Then-Punish Reflex
This reflex takes repetition. Run duels with a friend or in a training scenario and specifically practice Blocking on reaction rather than prediction. The difference between the two is the difference between a mid-tier player and someone climbing consistently.
If you are still early in your progression and want a broader foundation before drilling combat specifics, the beginner improvement path covers the habits that make these mechanics click faster — from ability cooldown discipline and positioning fundamentals to resource management between fights. Pairing that groundwork with the reaction-based Blocking drills above gives you a cleaner feedback loop: you learn why a punish window exists, then train your hands to hit it. Players who skip this step often plateau around mid-tier ranks because they memorize combos without understanding the stamina and recovery frames that gate them.
Awaken Triggers and Ultimate Usage
Awaken is the game's comeback and finisher mechanic. Landing hits and chaining combos fills your ultimate gauge, and once it is full you can trigger G for Awaken to enter a powered state with access to character-specific ultimate moves. According to the official game page, each character carries a distinct awaken kit, so the timing of when you pop it matters as much as the moves themselves.
The core question is not whether to Awaken, but when. Popping Awaken at full health with your opponent also at full health wastes the pressure. Popping it when your opponent is at low health and out of Dashes turns it into a guaranteed round.
| Awaken Timing | Outcome | Recommendation |
|---|---|---|
| At round start, full HP both sides | Low value, easily Blocked | Avoid |
| After landing a full combo | High value, gauge is full anyway | Ideal |
| When opponent is out of Dash | Near-guaranteed kill | Best case |
| When you are about to lose | Desperate, often wasted | Last resort only |
| Mid-combo to extend pressure | Strong if the combo is true | Advanced play |
Which Characters Have the Strongest Awakens
Awaken strength varies heavily by moveset. Some characters get wide, multi-hit ultimates that are hard to escape, while others get single-target bursts that require precise spacing. Before you commit to a main, look at how their awaken kit functions — a character with a slow, telegraphed ultimate will feel weak even if their base moves are strong.
Community discussions frequently rank awaken utility as the deciding factor between two otherwise similar characters, which is why testing a moveset's ultimate in a casual duel before investing time is worth the effort. Run a few rounds against a training dummy or a low-stakes 1v1 and watch three things: how long the awaken animation locks you in place, whether the hitbox covers roll-cancel distance, and how much endlag you eat if it whiffs. An ultimate that lands for huge damage but leaves you frozen for two full seconds is a free punish against any opponent running a fast combo starter, so the raw damage number on the tooltip rarely tells the whole story.
Meter Management Between Rounds
Your ultimate gauge does not always carry the way you expect between rounds, so treat each round as its own resource puzzle. If you are close to full, play slightly more aggressive to finish the gauge. If you are far from it, play safe and force your opponent to spend their own meter first.
Advanced Reads and Mind Games
Once the fundamentals are automatic, the game becomes a mind-game layer on top of the mechanics. An advanced guide at this level is less about inputs and more about predicting what your opponent will do before they do it.
The highest-value read in the game is the habit read. Every player has a pattern — some always Dash backward after a blocked string, some always Block after taking two hits, some always Awaken the moment their gauge fills. Identify the pattern in the first thirty seconds and you can bait it for the rest of the match.
-
Bait the Dash — throw a light attack at max range, watch them Dash, punish the recovery.
-
Bait the Block — feint aggression, then use a move that beats Block.
-
Bait the Awaken — pressure them to low HP, then Back off so they waste the ultimate.
-
Bait the Ragdoll Cancel — delay your follow-up so their early recovery gets punished.
Conditioning Your Opponent
The flip side of reading habits is creating them. If you always punish a blocked string with a light attack, your opponent will start Blocking in anticipation. That is when you switch to a Dash-through or a heavy and catch them holding Block.
Conditioning takes patience. You have to establish a pattern for two or three exchanges before you break it, otherwise the switch is meaningless. Players who rush this step just look random instead of deceptive. The reason is that your opponent's read has to survive at least one full punish cycle before it becomes a reflex — if you always answer a blocked string with a light attack, the second blocked string is what starts them pre-holding Block. Break the pattern on exchange one and they were never conditioned in the first place, so your Dash-through lands on a neutral opponent who simply reacts. Give the habit time to set, then punish the expectation you built.
When to Disengage
Not every fight is worth taking. If your opponent has full Awaken, full health, and better spacing, the smart play is to disengage, reset, and force them to commit first. Disengaging is not cowardice — it is resource management, and it wins rounds that aggression would lose.
Practice Routine for Consistent Wins
Mechanics only stick if you drill them deliberately, because muscle memory in Legends Battlegrounds forms from repetition, not from match volume. Random duels build bad habits as often as good ones — you might spam Short Dashes into a punish window 40 times and hardwire the wrong spacing. Structure your practice around specific skills instead: isolate Reaction Blocking, Dash spacing, ragdoll cancel timing, and Awaken kill-range reads as separate drills, so each input pattern gets clean reps before you combine them in a live fight.
| Drill | Focus | Duration |
|---|---|---|
| Block-only rounds | Reaction Blocking and punish timing | 10 minutes |
| Dash spacing rounds | Short Dashes, no aggression | 10 minutes |
| Ragdoll cancel reps | Recovery input timing | 5 minutes |
| Awaken timing rounds | Popping ult only at kill range | 10 minutes |
| Habit-read duels | Naming opponent patterns out loud | 15 minutes |
Tracking What Actually Improves
Keep a mental note of which exchanges you lose and why. If most of your losses come from getting punished after a blocked string, your problem is Block discipline, not damage. If most come from getting caught in ragdoll, your problem is the cancel timing. Fixing the specific leak beats grinding generic matches.
The players who climb fastest in Legends Battlegrounds aren't the ones with the flashiest combos — they're the ones who can name their own mistakes. That self-awareness is what separates a fighting guide you read once from a skill set you actually own. Take a concrete case: after each ranked set, replay your two or three worst losses and tag the exact failure — a dropped Block string, a mistimed ragdoll cancel, or a whiffed punish on an opponent's recovery. If the same tag shows up three matches in a row, that's your training priority for the next session, not a vague "get better" grind. Players who log mistakes this way tend to fix a leak in a single evening, while those who just queue again repeat the same punish window for weeks.
The One Rule That Ties It All Together
The core of this rule is resource denial: every Dash, Block, and Awaken you burn is a cooldown your opponent no longer has to play around. Picture a 1v1 in the final ring — if you Dash first to close distance, a competent opponent Blocks, punishes your recovery frames, and now your escape tool is gone while their defensive option is still charged. The player who forces that trade wins the exchange before any damage lands. This is why high-level Legends Battlegrounds play looks passive: both fighters circle, poke with light attacks, and wait for the first panic button. Whichever side blinks first hands over the tempo, and in a game where a single Awaken swing can decide a 200 HP fight, that tempo is usually the whole match.
Frequently Asked Questions
What is the most important input in Legends Battlegrounds combat?
Dash is the highest-impact input because it controls spacing and escapes pressure. Players who hold Dash for reactive use win far more neutral exchanges than those who spam it on approach. Master short, controlled Dashes before worrying about advanced combos or character-specific tech.
How do I stop losing after my attacks get blocked?
Stop chaining past two or three light attacks. When your string gets Blocked, Dash backward immediately instead of throwing another hit. The recovery frames after a blocked attack are exactly when your opponent punishes, so resetting spacing is safer than gambling on a fourth hit.
When should I use Awaken in a fight?
Pop Awaken when your opponent is out of Dash or at low health, not at round start. Using it at full health on both sides wastes the pressure and gives your opponent time to Block. The best Awaken is one that converts directly into a kill.
Does character choice matter for winning fights?
Yes, but mechanics matter more. A character with a strong moveset played with poor spacing loses to a weaker character played well. Pick a fighter whose range and awaken kit suit your style, then drill the fundamentals before switching mains.
How long does it take to get stronger at combat?
Most players see clear improvement within a week of structured drilling — Block-only rounds, Dash spacing reps, and ragdoll cancel practice. Random duels build habits slowly; targeted drills build them fast. Consistency in practice matters more than total hours played.