
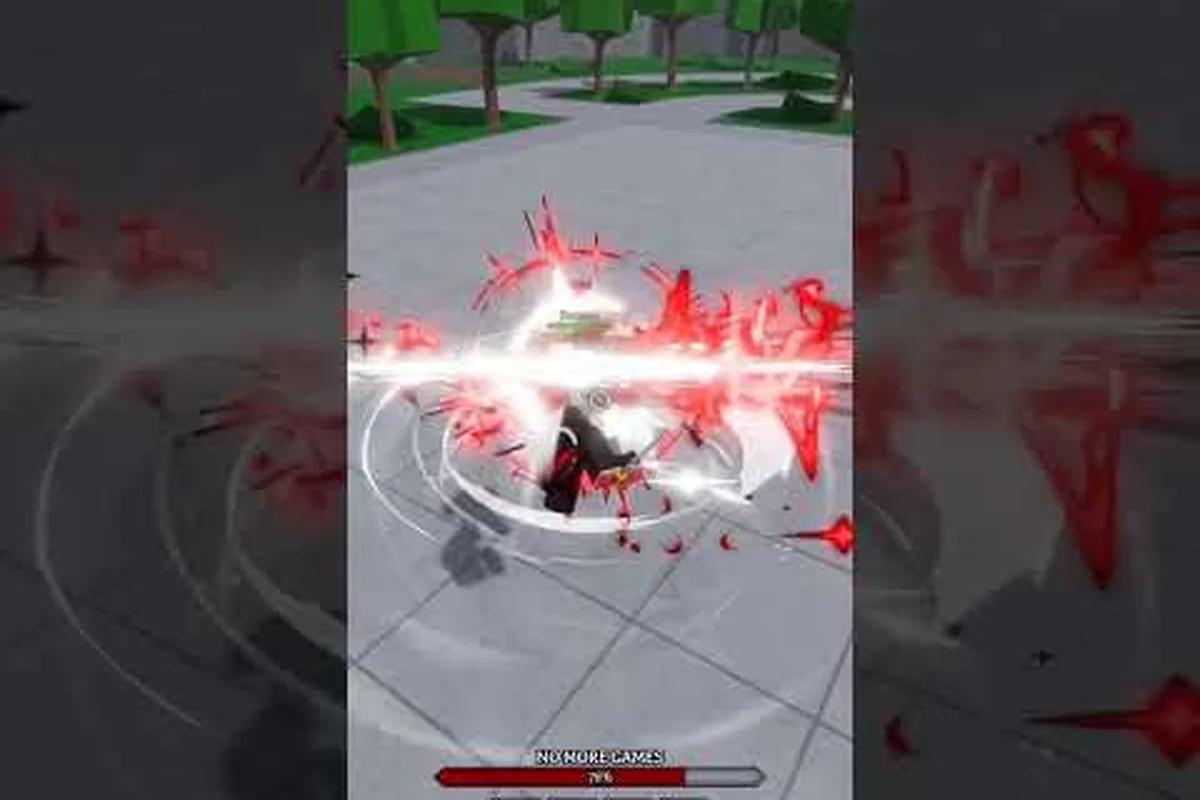
Legends Battlegrounds move finishers are the last hit of a combo that turns a winning exchange into a knockout, and knowing which input lands them decides most close duels. This breakdown covers every finisher type, the Jun moveset and Shinji moveset killers, and the timing that makes them connect.
Defining Finishers and Match-Ending Hits
A finisher in this Roblox fighter is not a separate button you unlock — it is the final, highest-damage hit of a chain that triggers a knockdown or a match-ending blow. According to the official game page, combat revolves around M1 light strings, a Q dash, F blocking, and G awakening, so every finisher grows out of those four systems rather than existing on its own. Understanding that structure is what separates players who spam attacks from players who actually close rounds.
The key distinction is between knockdown finishers and kill finishers. A knockdown finisher ends your string and puts the opponent on the floor, buying you space or a reset. A kill finisher is the same concept pushed to lethal damage, usually after an awakening buff or a wall carry. Both share one rule: the last hit must connect while the opponent is still in hitstun, or they simply block and punish you.
Community testing suggests three conditions must line up for any finisher to land: the hitstun window must still be active from your previous M1 or dash hit, your stamina or awakening meter must cover the heavy input's cost, and your positioning must keep the opponent from sliding out of range. In practice, an M1 string ender only confirms if the third light hit connects before the opponent's hitstun decays, while an awakening finisher after G activation typically demands a full meter and a corner carry — miss any one condition and the move whiffs into a free punish.
-
Hitstun window — the opponent must still be reeling from the previous hit.
-
Stamina or meter cost — heavy finishers drain your bar, so you cannot chain them endlessly.
-
Positioning — wall or corner carry dramatically raises finisher damage because the opponent cannot slide away.
Players often ask why their combo "just stops" mid-string. Nine times out of ten it is a dropped hitstun window, not a broken move. The real culprit is hitstun decay: each successive M1 in a chain shortens the window the next hit has to land, so a 4-hit string ender demands tighter timing than a 3-hit one. If your third light hit connects late — say, after you've already burned frames on a Q dash cancel — the opponent recovers and blocks the finisher, leaving you wide open for a Shinji moveset punish. The table below maps the four finisher families you will actually use.
| Finisher Family | How It Triggers | Typical Use | Risk Level |
|---|---|---|---|
| M1 string ender | Final light hit of a 3-4 hit chain | Safe poke, reset spacing | Low |
| Dash finisher | Q dash canceled into an attack | Gap close, punish whiff | Medium |
| Awakening finisher | G activation then heavy input | Burst damage, round end | High |
| Wall finisher | Corner carry then heavy hit | Maximum damage | High |
The safest way to learn these is to practice the M1 ender until the timing feels automatic, then layer dash and awakening finishers on top. Rushing straight to awakening finishers is the most common reason new players whiff and get counter-hit.
The Jun Moveset and Its Boxing Finishers
The Jun moveset is the boxing-flavored kit that rewards tight spacing and clean counters, which is why so many players search for a dedicated Jun moveset guide. Jun's finishers come from short, sharp combinations rather than long juggles, so the damage is front-loaded and the recovery is fast. If you want the full picture of how Jun's individual attacks chain together, the complete moveset breakdown walks through every input before you start hunting finishers.
Jun's boxing style means his finishers are counter-dependent. He wants the opponent to swing first, slip the attack, and answer with a two-hit close that ends in a knockdown. That is very different from characters who build long air juggles. Reported by players, the most reliable Jun finishers are the ones that follow a successful block or a whiffed opponent heavy, because the hitstun is guaranteed at that moment.
Here is how Jun's finisher options compare in practice: the counter cross sits at the top of the damage table because it triggers off a successful block or slip, meaning the opponent's own whiffed heavy supplies the hitstun you need, while the body-shot ender only reaches medium damage and demands a clean 2-hit M1 chain at mid-screen. The dash-in hook trades a Q dash into heavy for high damage but leaves you closer to punish range if the opponent reads the approach, and the awakening flurry is the only finisher that scales to very high, provided G is already active and you land it in the corner rather than mid-screen.
| Jun Finisher | Setup Required | Damage Tier | Best Scenario |
|---|---|---|---|
| Body-shot ender | 2-hit M1 chain | Medium | Mid-screen poke |
| Counter cross | After block or slip | High | Punishing whiffs |
| Dash-in hook | Q dash into heavy | High | Closing distance |
| Awakening flurry | G active then heavy | Very high | Finishing a round |
The counter cross is the signature Jun finisher and the one worth drilling first. It only works if you block or slip immediately before the input, so the muscle memory you build is defensive, not aggressive. Players who master it find that Jun suddenly wins exchanges he used to lose, because the opponent's own attack becomes the setup.
Jun's awakening flurry is the round-ender. Once G is active, the heavy input chains into a multi-hit sequence that is very hard to escape mid-screen but nearly guaranteed in the corner. Save it for a confirmed knockdown or a wall situation rather than throwing it raw, since a whiffed awakening finisher leaves you wide open for a full punish.
Shinji Moveset Finishers and How They Differ
The Shinji moveset plays longer and more acrobatic than Jun's, and its finishers reflect that. Where Jun ends combos with compact boxing blows, Shinji builds toward extended strings that finish with a spinning or aerial hit. The current store title even carries a Shinji prefix, which tells you how central this character is to the game's identity right now.
Shinji's finishers are carry-heavy. They want to move the opponent toward a wall before the last hit, because the final blow scales hard with corner position. That means a Shinji player is always thinking one step ahead: which hit pushes them where, and does the finisher have room to land. If you are still deciding which character suits your hands, the Jun unlock guide explains how to add Jun to your roster and compare him against Shinji directly.
The table below breaks down the two kits side by side, comparing finisher style, setup requirements, damage ceiling, execution difficulty, and the player profile each one suits. Use it to match a finisher to your habits: if you prefer blocking into a short boxing close, Jun's column will read like home, while wall-carry jugglers should study Shinji's row before committing.
| Trait | Jun Moveset | Shinji Moveset |
|---|---|---|
| Finisher style | Short boxing close | Extended aerial string |
| Setup needed | Block or counter | Wall carry |
| Damage ceiling | High in corner | Very high with carry |
| Difficulty | Medium | Higher |
| Best for | Counter players | Aggressive jugglers |
Shinji's aerial finisher is the flashiest kill in the game, but it is also the easiest to drop. The input must land at the apex of the jump, and if you are even slightly early the opponent recovers and blocks. Community reports suggest practicing the aerial ender against a stationary dummy until the timing is locked, then adding movement.
The practical takeaway is simple: Jun finishers reward patience and defense, while Shinji finishers reward positioning and aggression. Neither is strictly better — they just demand different habits. Look at the table's damage ceiling row: Jun peaks at high damage only in the corner, so a Jun player who never blocks into a counter loses most of that ceiling. Shinji's very high carry damage, by contrast, only pays off if the wall carry connects, which is why his execution difficulty sits a full tier above Jun's. Pick the column that matches your instincts rather than the higher number.
Input Timing That Makes Finishers Connect
Landing a finisher is 20 percent knowledge and 80 percent timing. The move list tells you what to press; the timing tells you when. This split matters most for Jun's finisher chain, where a single late input drops the confirm and hands the round back to your opponent. Most failed finishers come down to three timing errors — pressing too early, pressing too late, and burning awakening meter on a whiff — and each has a fix you can drill in training mode before taking it into ranked duels.
The first error is inputting too early. If you press the finisher before the previous hit connects, the game reads it as a fresh attack and the chain breaks. The fix is to watch the hitstun, not your own animation — press when the opponent flinches, not when your character finishes swinging.
The second error is inputting too late, which lets the opponent recover and block. This usually happens when players try to confirm visually instead of by rhythm. The fix is to practice the string until the final input is automatic, then trust it in a real match.
The third error is ignoring meter. Awakening finishers cost meter, and if you burn it on a whiffed attempt you lose your round-ending option. Jun's finisher chain drains a full awakening bar per attempt, so a single dropped confirm can leave you without a kill option for the rest of the round. The fix is to only commit awakening finishers on confirmed knockdowns or wall situations, where the opponent cannot tech away before the animation locks in.
| Timing Error | What Happens | How to Fix |
|---|---|---|
| Too early | Chain breaks, fresh attack | Press on hitstun, not animation |
| Too late | Opponent blocks and punishes | Drill until input is rhythmic |
| Meter wasted | No awakening finisher left | Commit only on confirms |
A useful drill is to run the same combo twenty times in a row against a dummy, resetting whenever you drop it. Once you can hit it twenty out of twenty, the timing is in your hands and you can take it into live duels. Players who skip this step usually blame the move instead of the timing, and they never improve.
Building Finishers Into Real Duels
Knowing finishers in isolation is not the same as using them under pressure. In a live duel, the opponent is moving, blocking, and looking for their own finisher, so your job is to create the conditions where yours lands. That means using your neutral tools to force a mistake, then converting.
Start by establishing your M1 pressure. Light strings are low-risk and they teach you the opponent's habits — do they block high, do they dash out, do they swing back? Every answer tells you which finisher to reach for. A player who dashes out of pressure is begging to be caught by a dash finisher; a player who swings back is a free counter cross for Jun.
Once you have a read, layer in your finisher. The sequence below is a reliable framework: it works because each step feeds information into the next, so you are never guessing which legends battlegrounds finisher move to commit. The key is timing the gap — leave roughly a half-second hole in your M1 string, just enough for a blocking opponent to drop guard or a masher to whiff a swing. That window is where Jun's counter cross and Shinji's dash finisher both become true punishes rather than hopeful reads.
-
Poke with M1 to test the opponent's defensive habit.
-
Bait a response by leaving a small gap in your pressure.
-
Punish the response with the finisher that matches it.
-
Convert to wall if the finisher does not kill, then finish in the corner.
If you want to see how finishers slot into longer sequences, the wall and air combo guide shows how carry routes set up the corner finishers that end rounds fastest. The reason carry routes matter is wall bounce: a finisher that connects while the opponent is still airborne off a bounce deals bonus damage and denies the tech roll, so Shinji's dash finisher can confirm into a full corner carry instead of resetting to neutral. Watch the guide's Jun moveset section too — it shows how a single M1 confirm chains into the counter cross, which then feeds the wall bounce that makes the corner finisher unavoidable.
The mindset shift is this: a finisher is not something you throw, it is something you earn. The players who climb consistently are the ones who build the setup first and press the finisher second. That single habit change is worth more than memorizing any move list.
Frequently Asked Questions
What are the best Legends Battlegrounds move finishers for beginners?
Start with the M1 string ender because it is the safest and needs no meter. It teaches you hitstun timing without risking a punish. Once that feels automatic, add the dash finisher, then move to awakening finishers. Building up in that order prevents the whiff-heavy habits that stall most new players.
How do I land the Jun finishers consistently?
Jun's finishers depend on a block or slip happening right before the input, so drill the counter cross against a dummy until it is muscle memory. The defensive timing is the hard part, not the button press. Reported by players, most Jun finisher failures come from pressing before the counter window opens.
Is the Shinji moveset harder than the Jun moveset?
Yes, generally. Shinji finishers require wall carry and precise aerial timing, while Jun finishers work from a simple block or counter. If you are new to the game, Jun is the friendlier starting point. Shinji rewards players who already understand positioning and juggle routes.
Do finishers cost meter in Legends Battlegrounds?
Only awakening finishers consume meter, since they require G activation first. M1 enders, dash finishers, and wall finishers run on stamina and hitstun instead. That is why awakening finishers should be saved for confirmed knockdowns or corner situations rather than thrown out in neutral.
Why does my combo stop before the finisher?
Almost always a dropped hitstun window. If you press the finisher too early the chain breaks, and if you press too late the opponent recovers and blocks. Watch the opponent's flinch rather than your own animation, and drill the string until the final input is rhythmic rather than visual.
Mastering Legends Battlegrounds move finishers comes down to three habits: learn the finisher families, drill the timing until it is automatic, and build the setup before you press the kill button. Jun rewards defensive counter play, Shinji rewards carry and positioning, and both become far more dangerous once you stop throwing finishers and start earning them.